Open New Tickets
Here you will learn what tickets are and how to create them. Tickets have nothing to do with tickets - they are rather the universal instrument to process any kind of requests in Wice CRM.
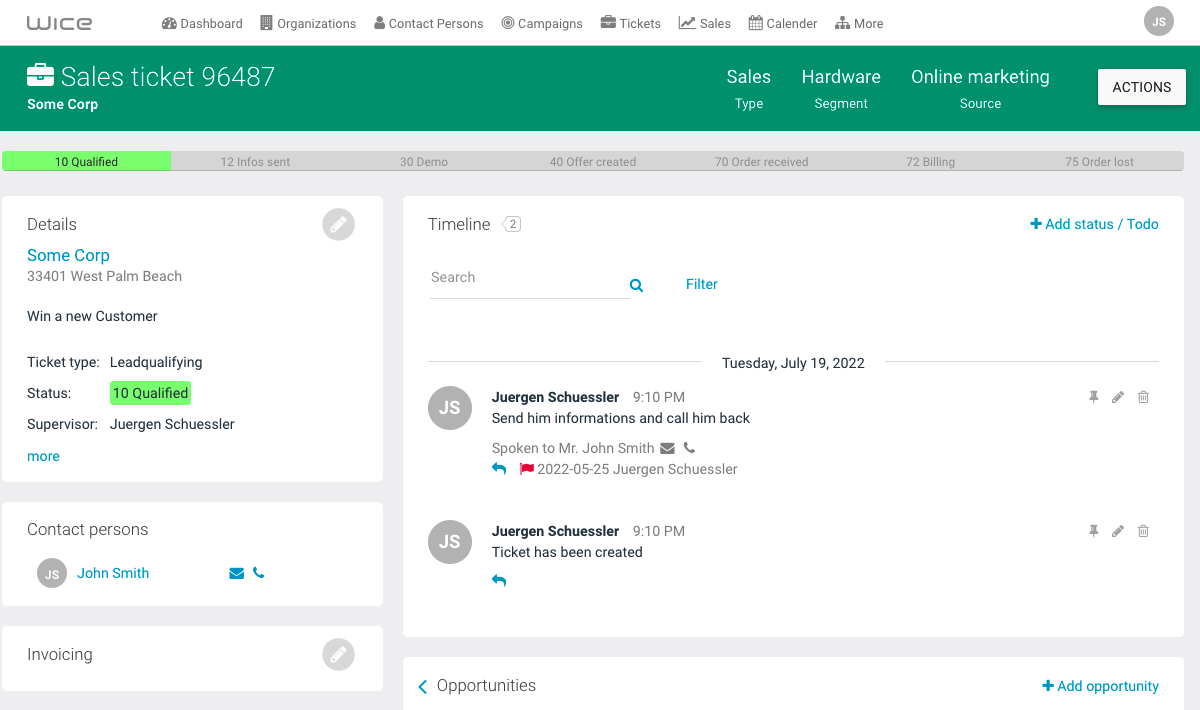
Like in a digital file folder, you store all the necessary information and data, as well as any communication for processing them in the ticket and generate todos for yourself or other employees. This way, you and your colleagues will not lose anything and transparency will be improved.
When creating tickets, you can generally decide whether the ticket is a sales or a service ticket - i.e. whether it is a classic acquisition or the processing of a service request. Depending on the ticket type, appropriate statuses are available for documenting the processing progress.
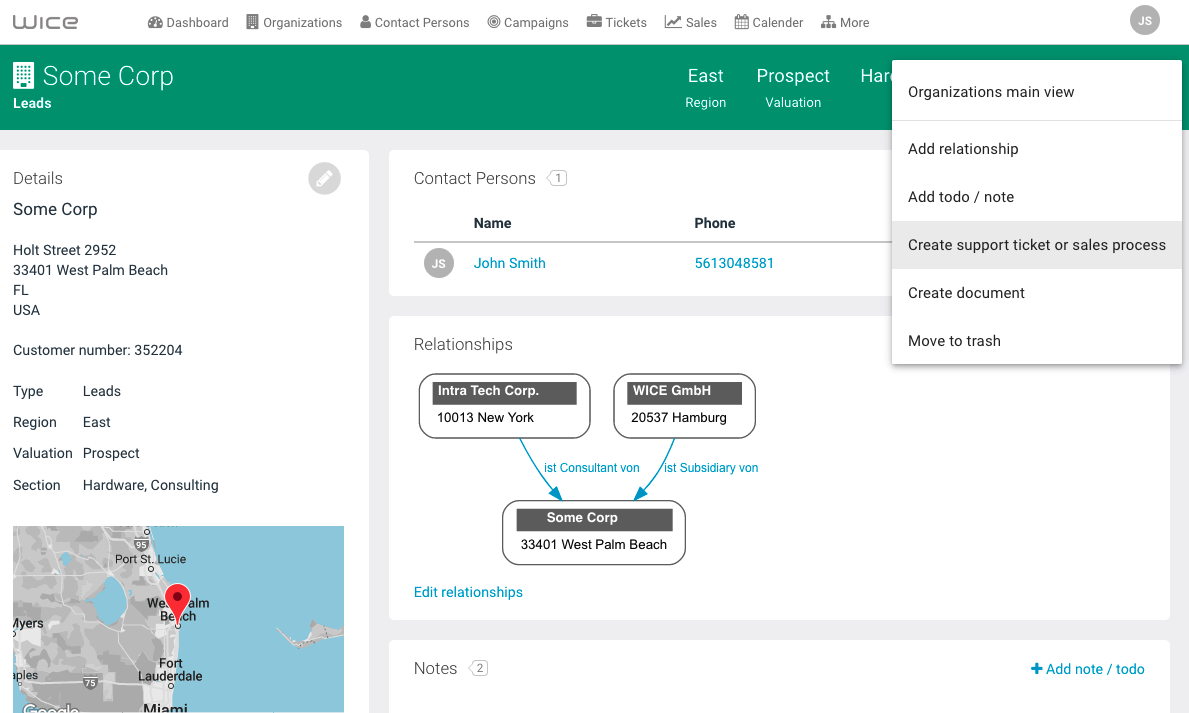
You can create tickets either via the Tickets module in the main menu or directly via the respective organization/contact you want to link this to. In both views, click on + New ticket and, depending on whether you open the ticket via the Ticket module or via an organization, you will now have to select an organization from the list of already existing entries in the first case - or you can also directly create a new organization if the desired one does not yet exist. In the second case, this organization will be preselected automatically.

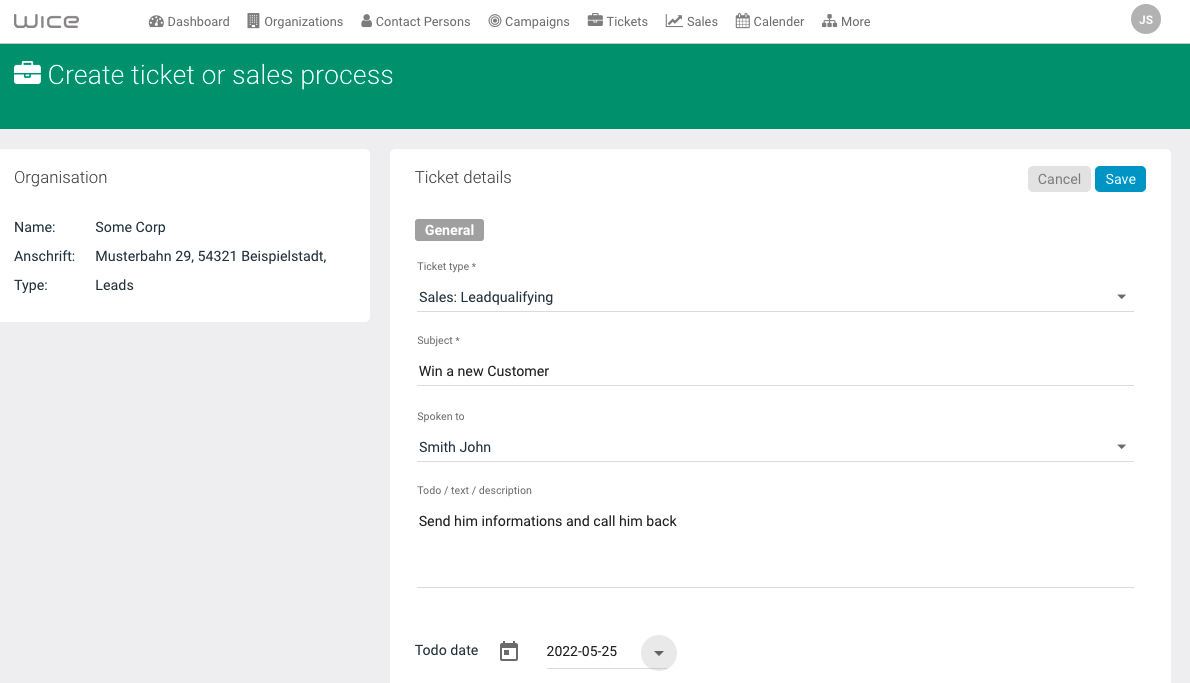
Now select the ticket type - you can also adjust this in the administration - and then enter a meaningful subject - in this you describe what the ticket is about.
Then describe in the field “Todo / Text / Description” what is to be done now and set a date until when the first todo should be done and which employee should work on this todo - this is then displayed in the dashboard of the employee and the employee is notified either by instant message or by email about this - if he is currently logged in, an instant message appears immediately - if not, this is done by email.

Optionally, you can assign categories for each ticket to be able to filter and evaluate them later. The contents and names of the categories can be customized as needed. Now click on Save and the ticket is created.
