Email Integration
Connect your Outlook
We offer you an AddIn for Outlook under Microsoft365 (Office365) and a free connector for your local email client MS Outlook to connect your email clients. You can download the connector here:
Installation: First save the program on your computer and click on the downloaded file to run the installer - now follow the instructions of the installer and start your MS Outlook now
To install the add-in for Outlook 365, proceed as follows:
Log in to your Office365 account and open your Outlook application. Then click on any email in your inbox and there on the “…” button for “More actions”. In the menu that appears, now click on “Get Add-ins” and there click on “My Add-ins” and here click on “+ Add Custom Add-in” and here select “Add from URL”. In the input field that now appears, copy the following URL:
and click on “OK”.
If you now select an email and call up the menu again under “…” for further actions, the Wice CRM Connector is available to you here. Under “Settings” you first have to save your Wice access data (i.e. the URL of your Wice server (e.g. node66.wice-net.de), client name, username and password). Under “Save Email” emails can then be saved in Wice CRM. You will be asked here, before the mask for assigning the email is displayed, if you want to allow the Wice CRM Connector to open a new window - you must agree to this.
You must be logged into Wice CRM in your default browser at the same time, so that the saving works and Outlook/Office365 must not be called in a private browser window, otherwise the saving does not work.
Via the Outlook - Settings you can optionally display the menu for transferring the emails directly as an icon at the respective selected email. To do this, go to the settings (gear icon) and there to “Show all Outlook settings” -> “Customize actions” and here under “Message interface” simply activate the checkbox for the Wice CRM Connector and then save your changes.
Transfer and assign emails
1. From the Outlook client:
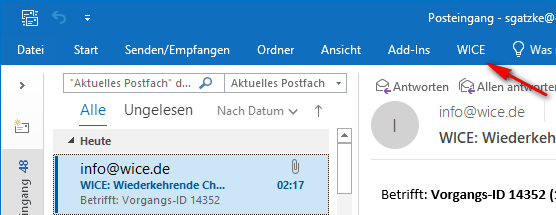
To transfer any email from Outlook to Wice first click on it in your Outlook client and then click on Wice->Save to Wice in the menu bar.
A new window/tab will open in your browser in which you can assign the email to an address as a note or directly to a ticket. So you have to either select the desired address or if the ticket ID was not recognized, enter it manually. After clicking on Save, the email will be applied.
2. From Microsoft365
Select the email you want to transfer here - if you have integrated the connector directly as described above, you can click directly on the small Wice icon and then select Save Email.
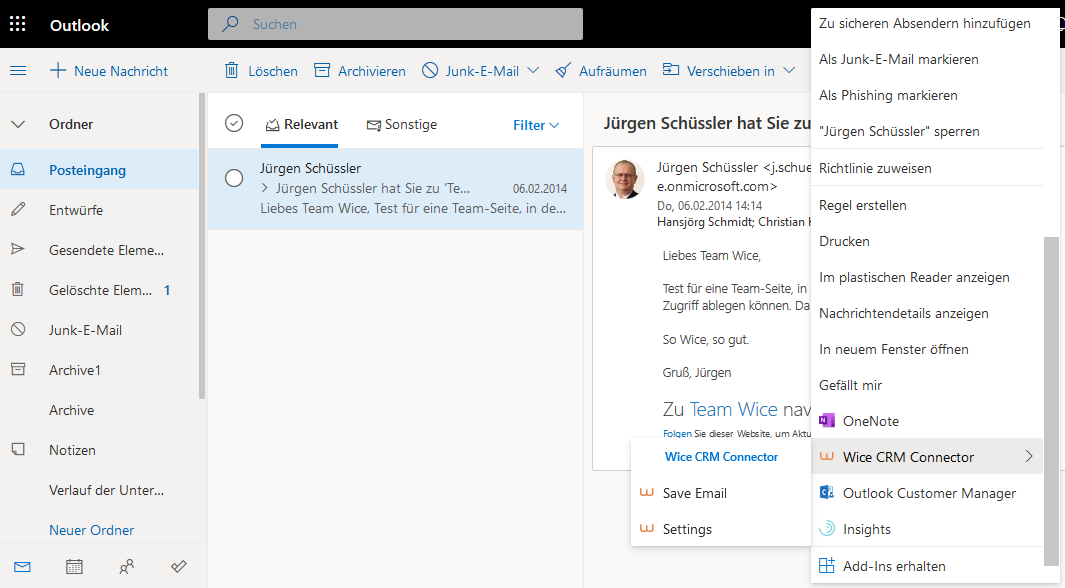
The connector will then ask you to open a new browser window and you can save the email there. If you do not see the icon, then you must click on the further options … and then you can select the Wice CRM Connector from the list and transfer the email.
3. Mail forwarding from any mail program
Wice CRM offers the possibility to transfer e-mails from any mail program by a simple forwarding. You can have an e-mail address generated in Wice CRM for this purpose.
This e-mail address is only used for forwarding your mails. You can only access this mail address in Wice CRM. You should keep this mail address secret so that no SPAM mails accumulate here. Use this mail address in your mail program either as a forwarding address for incoming mails or in the BCC field for mails that you want to send and sort directly in Wice CRM.
First, create the mail address for yourself. Wice CRM will then create a mail address for you.
If you now send mails to this address, the mails will appear in the list after a few minutes and you can transfer the mails from here.
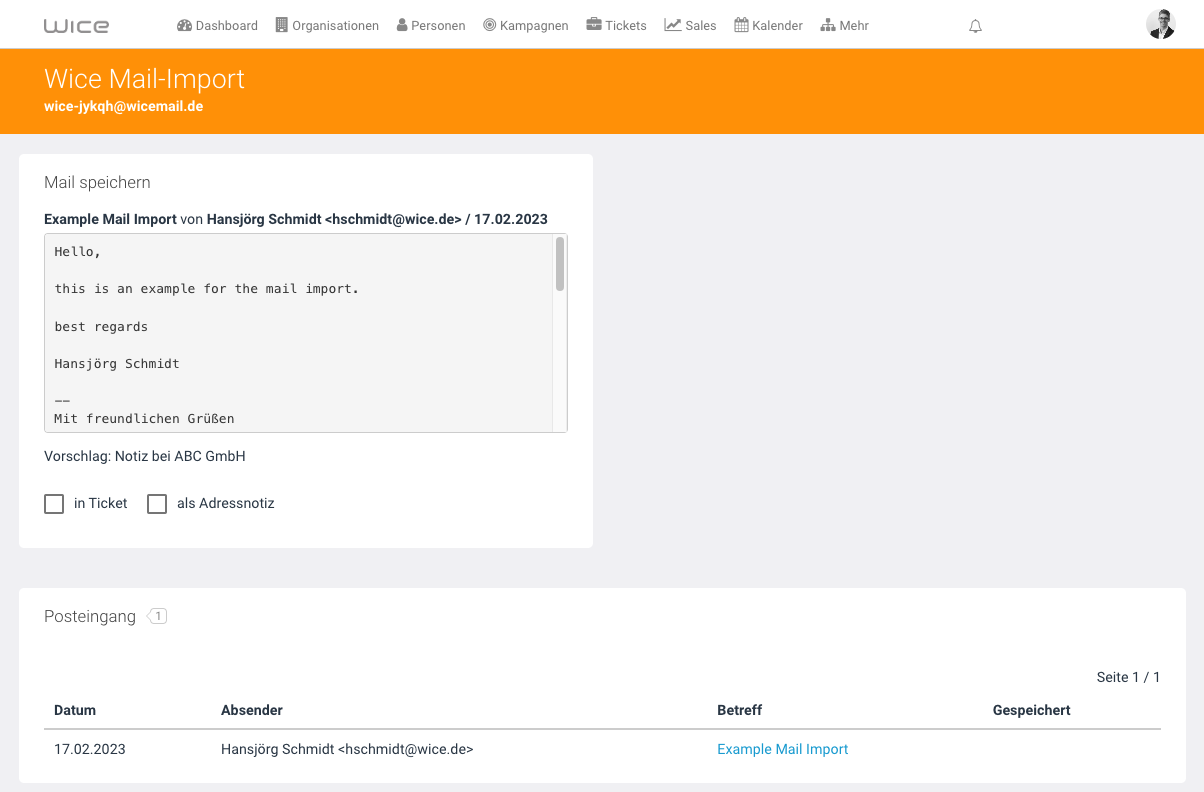
You can save the mail as an address note at the company address or as an action in a ticket. If the mail is a reply to a mail from a Wice ticket, then the ticket will be automatically recognized based on the ticket ID.
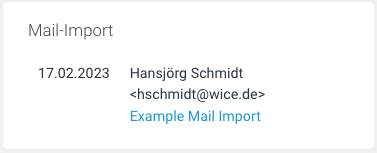
You can also place the Wice mail import as a widget on the start page, so that you have an overview of the forwarded mails directly from your dashboard.
Communicate from tickets
You can create an email directly from a ticket and send it directly via the Wice server. For this purpose, you can assign a contact person to an entry/todo or select the desired recipient in the list of all contacts. In order to create an email that is to be filed directly in the ticket again, simply click on the envelope symbol and the mask for creating the email will open. The desired recipient is already pre-selected. Now write your email and send it - the email will automatically be added to the timeline of the ticket as a new entry.
Inspect the history
If you create your outgoing emails from Wice in this way, so that they automatically appear in the ticket, and also file your incoming emails in Wice, you automatically have a complete history of all communication. This makes it easier for you to find all relevant information and increases transparency within the team.
Of course, if it is more your style of work, you can also create the outgoing emails with Outlook and then file them in Wice CRM afterwards with a few clicks.
Of course, you can also search the entries in the timeline for specific information - although you cannot search the texts of the emails themselves.